media junction® and Remotish have merged
Shoutout to all the content creators and graphic designers building awesome things in the HubSpot CMS! Today's video is for you... and my mom 🤣 🖥️
This 10-minute video highlights how you can audit and optimize your images for the web. Let me know if you'd like to see more CMS related content!
TRANSCRIPT
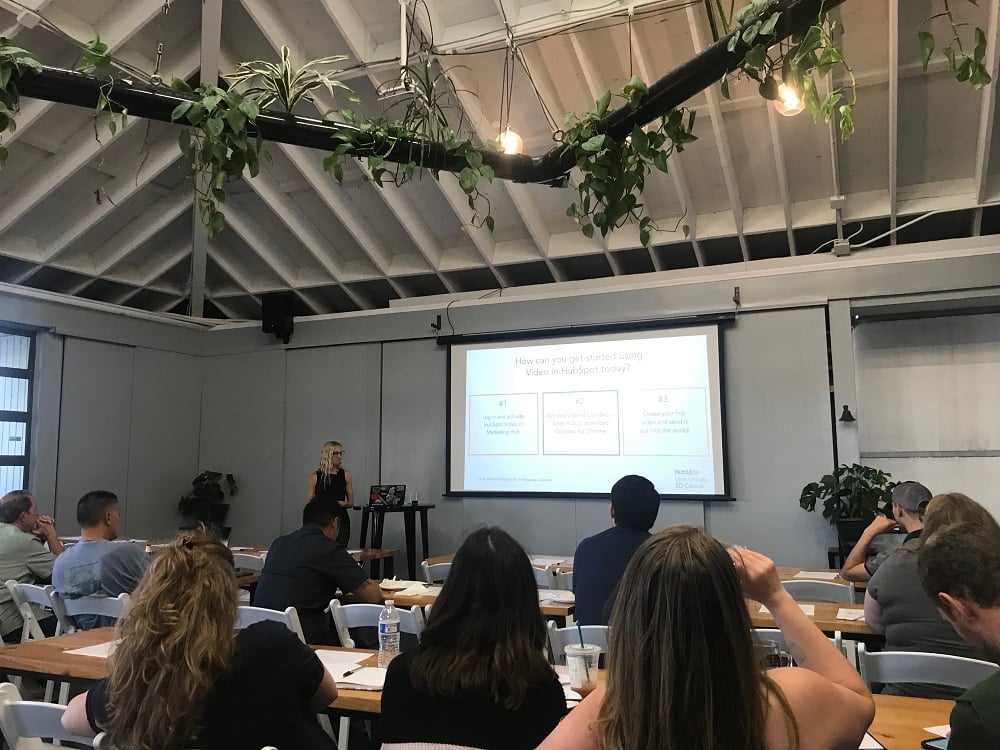
Hey, LinkedIn, it's Liam Redding, senior HubSpot strategist with Remotish agency.
Today I'm coming with a tip that's a little bit unconventional, based on the pattern of topics that I usually cover in my posts. I tend to lean really heavy into the technical side of things. Today, it's still technical, but it's related around CMS WebOps, and optimizing your images for the web. So not only am I going to do a little bit of a demo inside of HubSpot, and what to look out for and how to fix it. But I'm also going to open up Photoshop. And for all the graphic designers out there, I'm going to show you how to go about optimizing your images for the web.
This is actually a problem that my mom's running into. And I told her that I would record a video for her explaining how you would optimize the image, she uploaded an image into the editor and was like, it's all pixelated. It's like, well, it's low res. And it's not optimized for the web, most likely, you just downloaded, you know, a 4000 pixel image by 4000 pixel image off the Internet. And then you just tried to plug it into your website. And, you know, you didn't, you didn't change the dimensions, or export that out of Photoshop and save it. So essentially, your website is pulling these massive images, and it's gonna damage your load speed time, your SEO is gonna go down, it's just a bad user experience. And it's unnecessary, it takes you know, a minute or two to go in, per image and optimize that. So as you're building your site, you should really be optimizing them along the way. Because if you were to try to go back and clean it up, it's gonna be a pain, you know, there's hundreds, if not thousands of images across the website. There's no easy way. I mean, you can lazy load an image, but it's really important that you go in, and you actually optimize the raw image itself.
So we're gonna go over that today. And I'm going to be demoing this on the Remotish blog. It's actually one thing that we don't do very well, not the entire site. But the blog itself, because this blog is maintained and all the content is produced by the employees of Remotish. And it's kind of like a wild wild west free for all like if you have time, go in and you know, produce some content. And not everybody has the background and experience as a graphic designer that I do. So I know because I've been very heavy in the HubSpot CMS exactly how to go about doing this process. And I've held myself to that standard for years. So you know, it's interesting to me to go in here and take a look at some of these. And we'll go ahead and take a look.
So how you go about essentially diagnosing an image will be you can open that image in a new tab. So here we can see the title of this image one, we'll go over that, like what's the best practice for titling your image. But also, we can see when I hover over that, see the 1136 by 1066. That's the dimensions of this image. So this is a 1000 by 1000, which is not terrible. You'll see, I'm sure if you go and audit your website, and you just check out some of your images and you look at them, a bunch of them are probably going to be, if you've never optimized them, like 1000s of pixels by 1000s of pixels.
Here's another example, all these should be consistent, they should be one that the naming convention should all be the same, which this isn't bad, the way that you name. It has the one on the end, but the way that you name that is correct, except for smartphones should be lowercase. Every letter of every word should be lowercase, and it should be separated with dashes. So this isn't terrible, but that somebody tried to save this once and then saved it a second time on the computer. And it added that one on the end. But we can see this is 595 by 397, which we'll take another look at that, nut I believe that's actually the correct ratio. Jesse, sorry to pick on you. You got two blogs on here. But this is another one. This is actually weirdly pulling from not HubSpot, which is weird. But if we look at the image, this again is 1600 by 478. So there's no standardization here on the size of the image. So the second way that you can actually look at the so you can only do this inside of Google Chrome. But you can inspect the image here and actually go over that. And when we're hovering over, it's going to tell us it's 595 by 448, which what I think this one was.
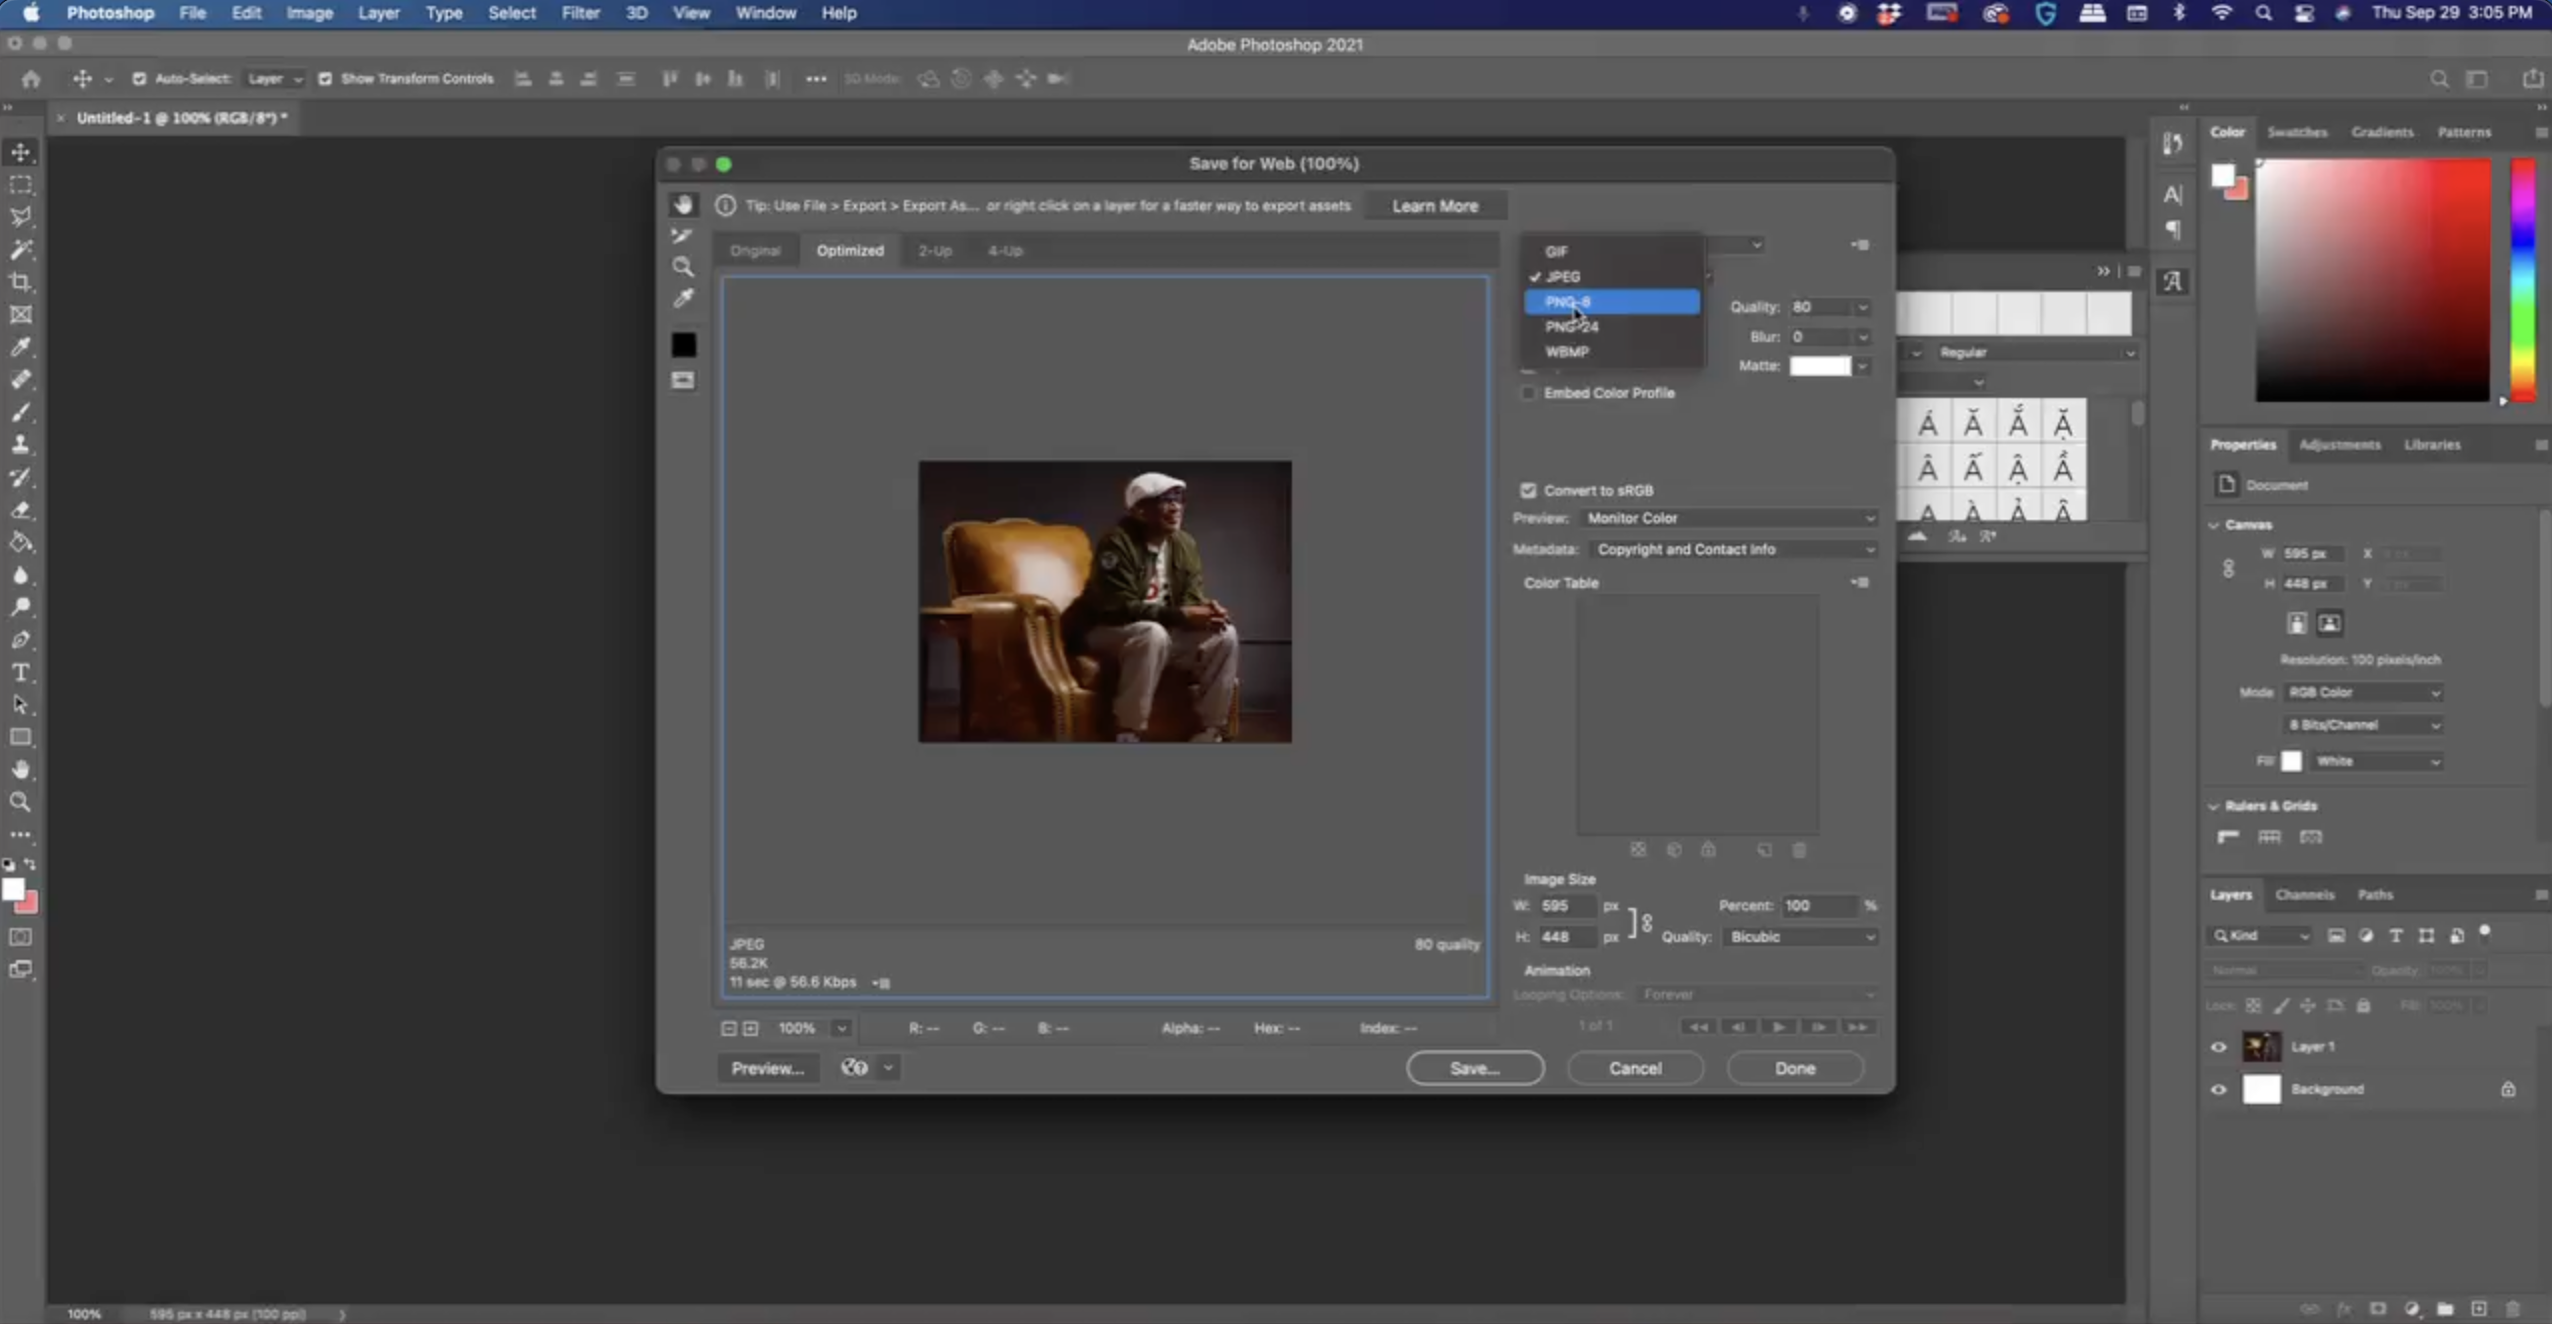
Oh 595 by 397 sounds close, but it's still not 100%. So we actually want the images that we're inputting into HubSpot to be this exact same dimension. It's the size of the image module. It's how it was designed in the figma file or XD file or whatever it was designed. And it was designed specifically to be the size. So every image, you know, that's an input into this module, which should be 595 pixels by 448 pixels. So how do you do that? Let's open up Photoshop. Actually go ahead and size this up. Oh, take up the entire screen here. Create new, I forgot my dimensions already. So it's a 595 by 448. And then 100. Resolution is not bad, especially for like an image like this. If you're working with like a really big, huge file, it's, you know, for example, you're doing a chalkboard wall design, which is like a really cool one that I did. And what I was designing needed to be high enough resolution that if when we projected it onto the wall, or if you were to print that out at the printer that it would print with high res. So you sometimes need to increase that resolution in specific examples, but not for this one, we're gonna go ahead and do RGB color code, the difference between these grayscale and bitmap, I'm not really sure, but CMYK, that's the one that you use for print. RGB is what you're going to use for the web.
So RGB is good, we can go ahead and just use a white background there, we'll hit create. So once it creates our layer here, we can see that this is the exact size that the image is supposed to be. So if we go back to the website, see that the ratio looks exactly the same. And now, the website is going to be smart enough to resize your image. That's not an issue. But it's still pulling that raw image, which is huge, it's 1000s of pixels wide, it has no need to be that big. So we're actually going to copy that, we’ll come into HubSpot here. We're going to paste that and see that's, that's the raw size of the image. And the website’s automatically updating that but it's putting stress on the website. So you can actually size that down or size it up.
And when you save an image, you're going to File, Export, save for web, and you save for whatever you want to save as either JPEG or PNG, the difference between the two JPEGs is going to be less file size. And the only real difference is I only use a PNG file if I need the background to be transparent. Because a JPEG if you try to export an image with a transparent background, it will just show up white. So PNG it'll actually download as transparent. But jpg here is fine, we're gonna go ahead and save that. And you're gonna see my messy files. Close that, you would save that when you save it, you're going to use your dashes. I just want to pull that backup but yet, you're going to use dashes. So let me just like show you.
So, when I name this, I'm gonna do like spike, all lowercase dash Li, dash, inbound dash 2021. So that might be and then it's going to add dot jpg at the end. That's a correct nomenclature for your, when you upload an image, that's how it should look, spike-lee-inbound-2021.jpg all lowercase. And if you have every image to be named something different, not really necessarily for SEO purposes, which is I guess, helpful. But more so for if somebody's like looking at the raw code to try to figure out what it is that they'll be able to figure that out.
So that's how you optimize your image. Now, if we had one, that's a larger image, like this one's not bad, that one was actually really close, but this one, like, first of all, it's auto sizing it so you're not getting the full image anyway.
What you do is you just input this in, and then you move it around so that it fits well, or however you want it to fit. You drop that and you're gonna go through the same process, File, Export, save for web. And then you go across your entire site. Look at all the different image modules that you have, what is the size that it's supposed to be? What is the size of the raw image, create that dimension inside of your Photoshop, add the image, save it for web, name it properly and then put it back in HubSpot. So that's how you go about optimizing all of your images for the web. Please let me know if you have any comments, questions, concerns, and I appreciate all the continued support! Thank you.